
1. Understand the history
Inspect accessible areas inside and outside. Record where water appears, when it started, its relationship to the weather and any previous repairs. Review the construction and available drawings.
We investigate water ingress through windows, doors, glazing, curtain walling and adjoining façade details. The process combines the building’s history, controlled testing, targeted repairs and a recorded re-test.
Discuss a leak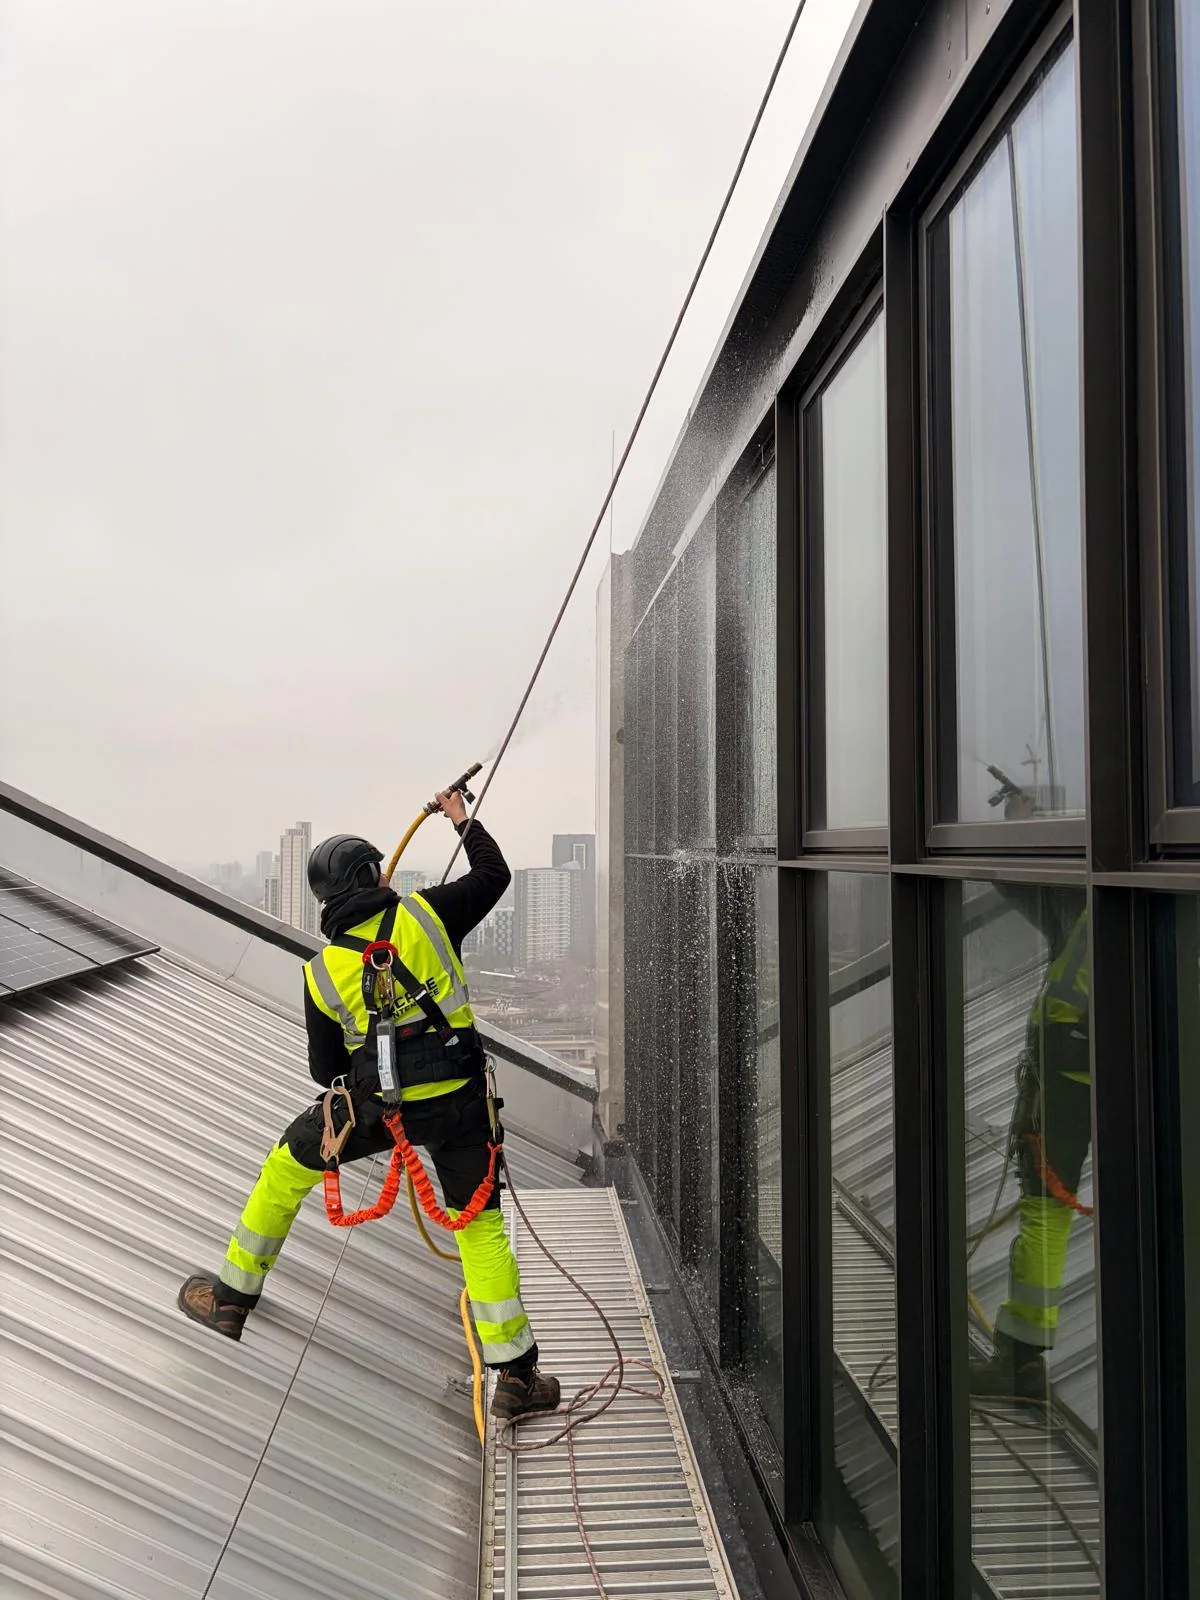
Water can enter at one point and travel through the building before it appears indoors. Treating only the visible damp area can miss the source. We compare internal symptoms with the external construction so the repair addresses the identified route.
Inspect accessible areas inside and outside. Record where water appears, when it started, its relationship to the weather and any previous repairs. Review the construction and available drawings.
Select a suitable approach for the building and work area. This may involve rope access, a MEWP, scaffold, a cradle or BMU. Plan the sequence and controls in site-specific RAMS.
Use a controlled low-pressure hose, generally working from the bottom upwards, one zone at a time. An operative observes inside and records where and when water appears. Test duration allows for water to track through the construction.
Compare internal observations with each external test zone. Where needed, moisture detection helps the investigation. Check relevant joints, gaskets, drainage paths and interfaces rather than assuming every leak is a failed sealant joint.
Match the repair and materials to the identified defect and existing system. Work may involve seals or gaskets, glazing, frame adjustment, flashings, cladding interfaces, masonry joints or waterproofing details.
Allow any required curing time, then re-test the repaired area using the agreed method. Record what was found, the work completed and the test observations for the building team.
Perimeter and movement joints; glazing gaskets and beads; cladding interfaces; drainage slots and weep holes; cavity trays and damp-proof courses (DPCs); copings, flashings and membrane laps.
Each detail has a different role. Read the plain-English terminology guide for explanations.
Some investigations need access behind internal finishes to see the water path. We discuss access requirements before the work is arranged.
This page describes our diagnostic on-site investigation process. A formal performance test to a named standard has its own agreed method, equipment and acceptance criteria. If your project requires a particular test specification, tell us before arranging the visit.
Yes. Different defects can contribute to the same symptoms. Finding and repairing one source does not establish that every other part of the façade is watertight.
Weather-dependent or intermittent leaks may not reproduce during a controlled test. Further monitoring, different conditions or a return visit may be needed. The report records the observations and conditions rather than claiming that an unobserved leak has been resolved.